

SHADING FORMS

Shading Shapes into Forms
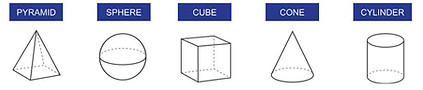
1. Draw the 5 forms correctly:
-
The forms must be larger than 3 inches.
-
Use a ruler or a straight edge if you do not have a ruler.
-
Lightly draw in the lines because you will erase them later.
-
Watch the video for help.
2. Shade the forms correctly:
-
Each form will be shaded differently.
-
Use your value scale to help determine the correct value.
-
Watch the video for help.
Cylinder
-
Blend from light to dark.
-
Use at least 6 different values.
-
Blend smoothly and evenly so it looks 3-D.
-
Shade the top backwards from how you shaded the side
.jpg)
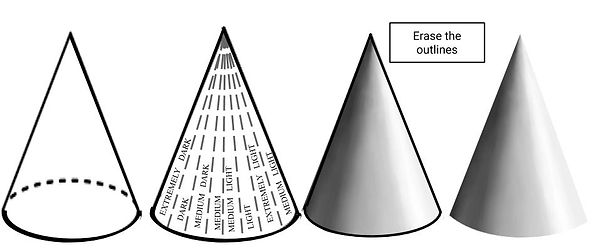
Cone
-
Blend from light to dark.
-
Use at least 6 different values.
-
Blend smoothly and evenly so it looks 3-D.
.jpg)
Sphere
-
Make the lightest spot be an off center oval.
-
The darkest zone will not go all the way around.
-
Use at least 6 different values.
-
Blend smoothly and evenly so it looks 3-D.
.jpg)
Cube
-
Shade each side with a distinctly different value.
-
Shade evely and neatly.
-
Blend smoothly and evenly so it looks 3D.
.jpg)
Pyramid
-
Shade each side with a distinctly different value.
-
Shade each side evenly and neatly.
-
Blend smoothly and evenly so it looks 3-D.
.jpg)
